

However, before you go on a further journey with him, you need to be sure that he is used to...

How to change a tire in a car?

(photo Moje Auto)

Changing a car tire is an activity that no driver can avoid. A flat tire is a hassle, while repairing it is a dirty job. Defects of this type are also associated with danger on the road. Faulty tires increase the risk of an accident and thus pose a threat to the life and health of all road users. Therefore, it is worth knowing how to change a tire in a car so as not to be surprised. You can call roadside assistance, but it's probably quicker to do it yourself. How to change a tire in a car and how to do it properly?
From the article you will learn:
- How to recognize a flat tire
- What safety rules should you follow?
- How to prepare for changing a car tire
- What tools do you need
- How to change a car tire step by step
Disturbing signals
With each fault or breakdown, the car sends clear signals to the driver. In this way, it informs him that something is happening to him that requires attention. A punctured tire does not always require immediate repair changing a wheel in a car. Often we can ride it for several more kilometers. This depends on how badly the tire is damaged. We will recognize the fault, among others: after the vehicle turns to one side on its own. You will also hear a noise coming from under the wheels, a rumbling sound. In such a situation, be sure to check whether your car's tires require attention.
stop
Of course, you need to find a suitable place for this. Stay calm and careful. Do not accelerate or brake suddenly. You cannot make any sudden movements when a tire is punctured. Always change a car tire in a safe place, without posing a threat to yourself or other drivers. Find a place to stop. The wheel changes best on a hard, flat surface. Don't stop close to curves or hills. Try to stop, for example, at the nearest parking lot, in a lay-by or on a wider road.
get ready
Once you have found the right place and can make changing a wheel in a car, you have to prepare for it. Turn on your hazard warning lights to signal a failure. Set up a warning triangle, you should have it in the trunk of your car. In built-up areas, it must stand right behind the vehicle. Outside built-up areas, place it 30-50 meters behind the car. On the highway it should be 100 meters away. If you have one, wear a reflective vest, you will be more visible. All passengers should leave the car. To reduce the weight of your vehicle, unpack your luggage.
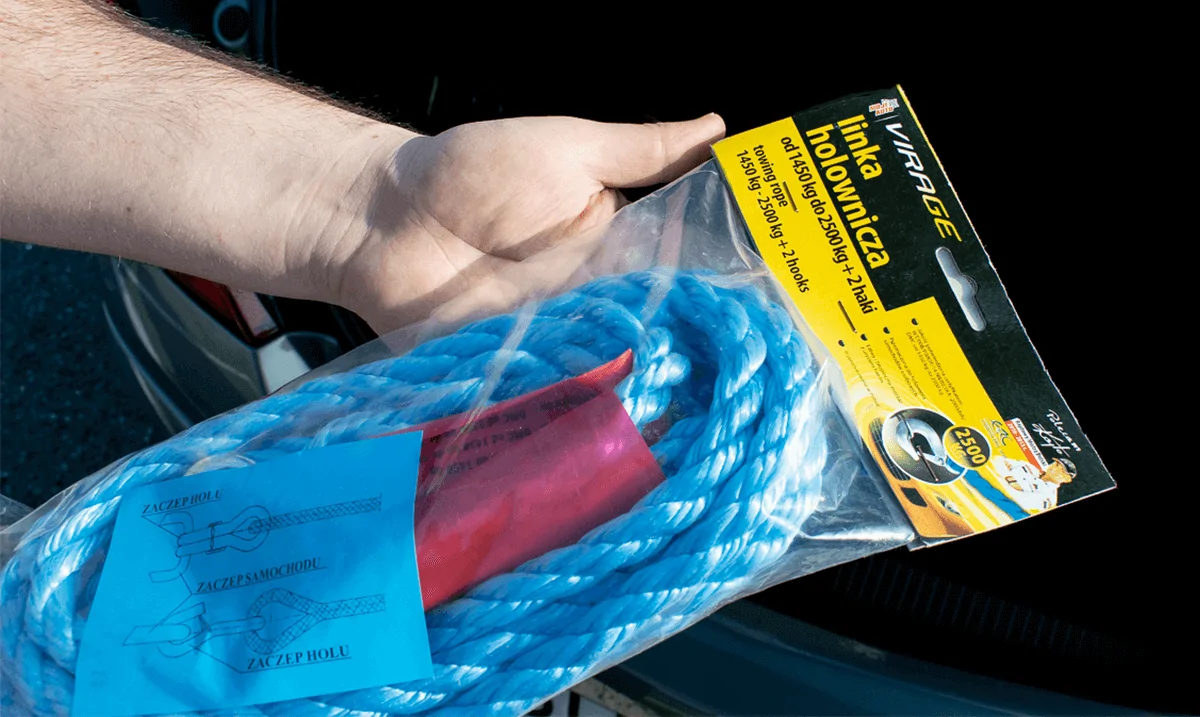
Changing a tire in a car – do you have everything?
We change the wheel in very different conditions. It all depends on the circumstances and where the tire gets punctured. It is best to carry a spare tire in the trunk. This is also required by road traffic regulations. An alternative may be a commuter bus. Changing a tire in a car is done using specific tools. You need a cross or telescopic wrench. You will also need a jack and maybe gloves to avoid getting your hands dirty. Some people decide to use a repair kit instead of changing the tire. You can do this, remembering that this is a temporary fix.
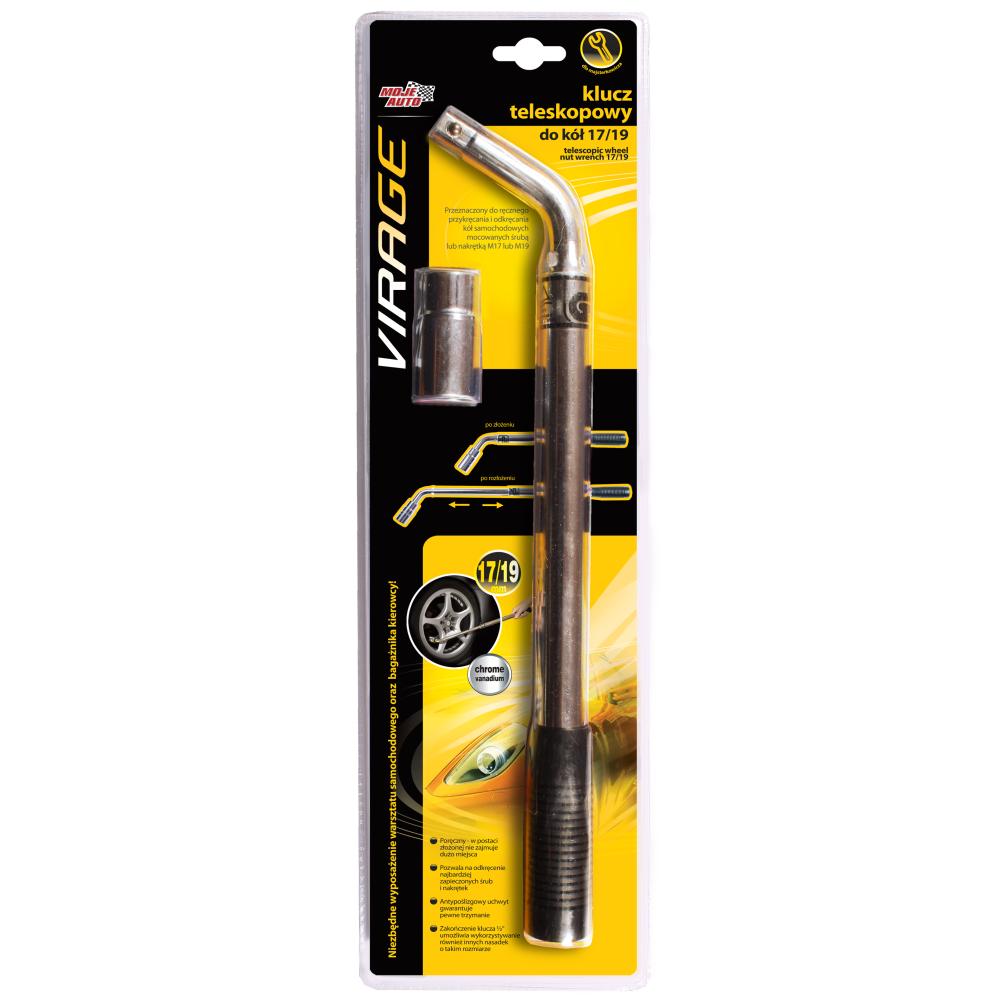
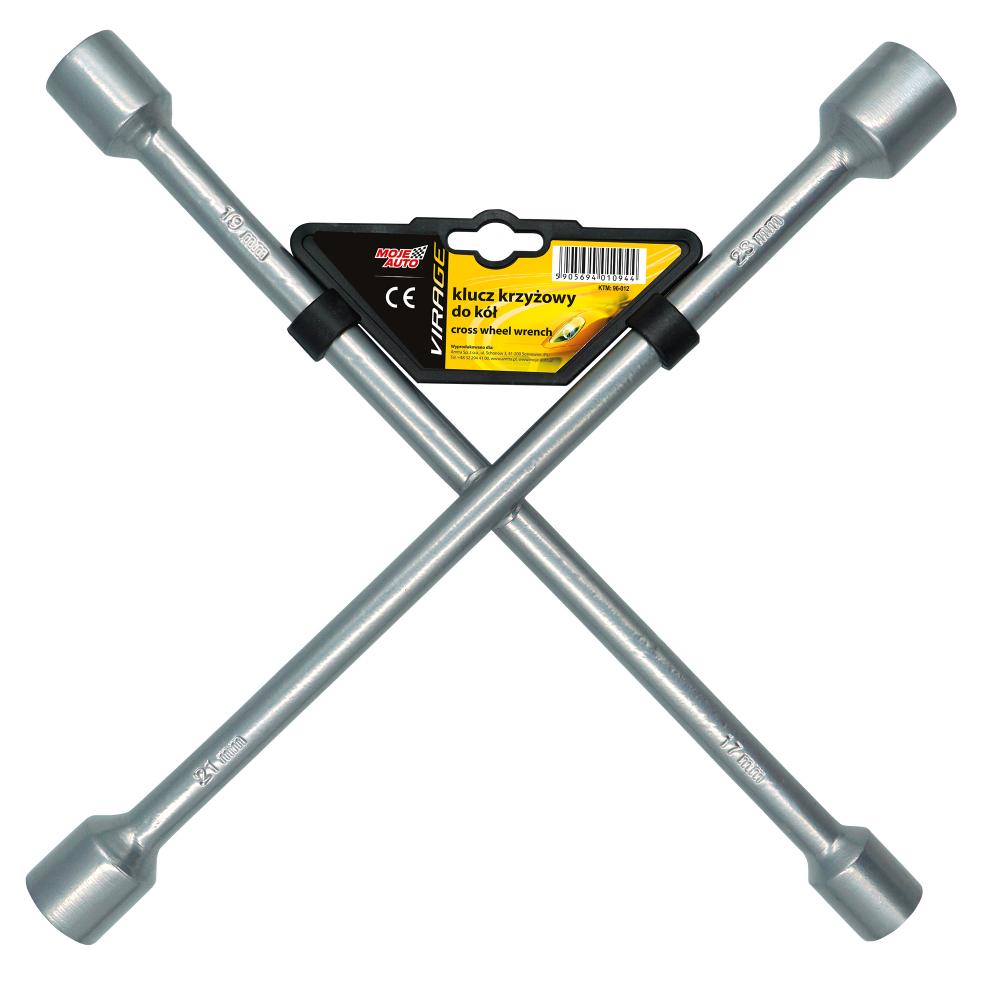
Cross and telescopic wrench
The most widespread tool for changing a wheel in a car almost every car owner has one. Cross key, i.e. in the Moje Auto Virage offer, is characterized by universality and ease of use. It has special caps, which make it easier to fit specific wheels. We can use it to change virtually any wheel. Another solution is telescopic wrench, which is also available in the Moje Auto Virage offer. It extends to over half a meter and allows you to unscrew the most stuck screws. When we fold it, it takes up little space. The set is completed with two attachments.
Changing a tire in a car – stage 2
You've already prepared for work. Remove the hubcap first. Grab it properly and pull it harder. Then loosen the screws, for which you need one of the mentioned wrenches. For very seized screws, a telescopic wrench will work best. Do not remove the screws, just unscrew them so much that you can easily remove them after lifting the car. Remember that car keys have several sockets. Match them properly to the type of your wheels. A locking screw is often installed on aluminum rims. You will also need one of the attachments for it.
Lift the Cars – Stage 3
Now remove the jack from the trunk, if you have one. Changing a tire in a car takes place faster when the car is above the ground. Don't know where the jack support is? The car manufacturer provided information about this in the manual. Most often, this is the area close to the car door sill. The jack must be on a solid surface and straight. When the tire is lifted up on the jack, it should be a few centimeters above the ground. Changing a tire in a car can be a simple task if you follow these few rules.
Get rid of the damaged wheel – step 4
We are approaching the climax. You loosened the screws earlier, now unscrew them. Starting at the top, pull the wheel towards you and remove it. In place of the damaged wheel, you place a new one - a spare one or a spare wheel. Align it with the wheel hub and tighten all the screws. The cross method will work for this. So what? Fasten the screws on opposite sides. When you feel resistance, you have tightened the wheel correctly. Important! Tighten the screws completely after lowering the car to the ground.
Summary
- The wheel needs attention when you feel your vehicle turning to one side and hear a rumbling noise
- To change a wheel, you need a spare wheel, a warning triangle, a jack, a telescopic or cross-shaped wrench, a reflective vest and possibly protective gloves
- Unscrew the screws completely only after lifting the car off the ground
- After installing a functional wheel, tighten the screws using the cross method
- Tighten the screws until you feel resistance, but always after lowering the vehicle to the ground